Showing posts with label Soak Off. Show all posts

Monday, January 27, 2014

Pre-Valentine's Valentine's Manicure

So I had originally filmed a video for this design but oh surprise! Twas horrible and I was unprepared and nervous and ended up staining my bed with nail polish LOL!

But anywho! Attached are the pictures of the end result and listed and linked are the products I used and at the end I linked the manis that inspired me to do this design :)

Hope you like it!

My fav was the pinky
The pinky heart was inspired by NailArtista, the 3 layered fluffy nail was inspired by a pic I found on Google last week but I can't find it anymore to give the artist their credit so if someone finds it please be kind enough to let me know in the comments! The polka dots and hearts were just random because I had no idea what to do on those 2 fingers.

Soooo cute! 
Ignore my horrible cuticle, I've been anxious nibbling my thumb :P


So the products used were:
Bluesky Gel Polish in Romantique
Bluesky Gel Polish in Studio White
Gelish Top & Base Coat
A UV lamp I got ages ago can't find the link
Dotting Tools
China Glaze Something Sweet
Barry M Polish in Pink Silver Glitter 
And any simple white nail polish for dots here and there


So for those who are familiar with the whole Shellacs process you know how it works, and for those who don't; I give a brief explanation here on one of my previous posts.

I hope you liked the mani, it's really cute and very "ad hoc" with the love birdy season :)


Friday, January 10, 2014

Butter London The Black Knight Review

I am a big fan of Butter London nail polishes, their colours are so unique and beautiful.
Sadly I am a little disappointed with The Black Knight, the formula is a little gloopy and you definitely need 2 coats to get the results you're looking for AND it chipped off so fast!

I did my nails yesterday evening and today before noon... well as you can see, my left hand looks just fine but the right hand has already began to chip away.
So sad it chipped in less than a day

Left hand intact, chipped 3 hours later...


You must be thinking "Well, what about your top coat?" Yes, I did apply a top coat. The next thought that comes to mind is "Is this polish really worth it's price?" Maybe not this colour specifically, but I think maybe, just maybe if you use this polish in a "jelly Sandwich" it might actually work great.

Jelly sandwiches work great with regular nail polishes with high glitter content because glitter polishes dry a lot faster than regular ones.

Apply a thin layer of gel soak off base coat and cure it for 120 seconds, wipe off the stickiness with a lint free cotton pad and apply your polish, let it dry as you would normal nail polish, wait an hour or two and then apply your gel soak off top coat and cure for 2 minutes and TADA!!!!

This should help these kind of "chippy" nail polishes stay on for a bit longer. I haven't done it with this polish specifically but I have done it with others and it's worked wonders.

Don't give up on that beautiful polish you fell in love with JUST because it chips off so fast, there are ways to make it last :)


Monday, January 6, 2014

Half Moon Manicure

A friend of mine booked me to do her Shellacs after work today and she bought these 2 very pretty Bluesky in CS60 and Mocha VIP which look very cute together. As I was doing her nails she had to remind me several times to take pictures for me to document it yet I failed to do so on occasions.

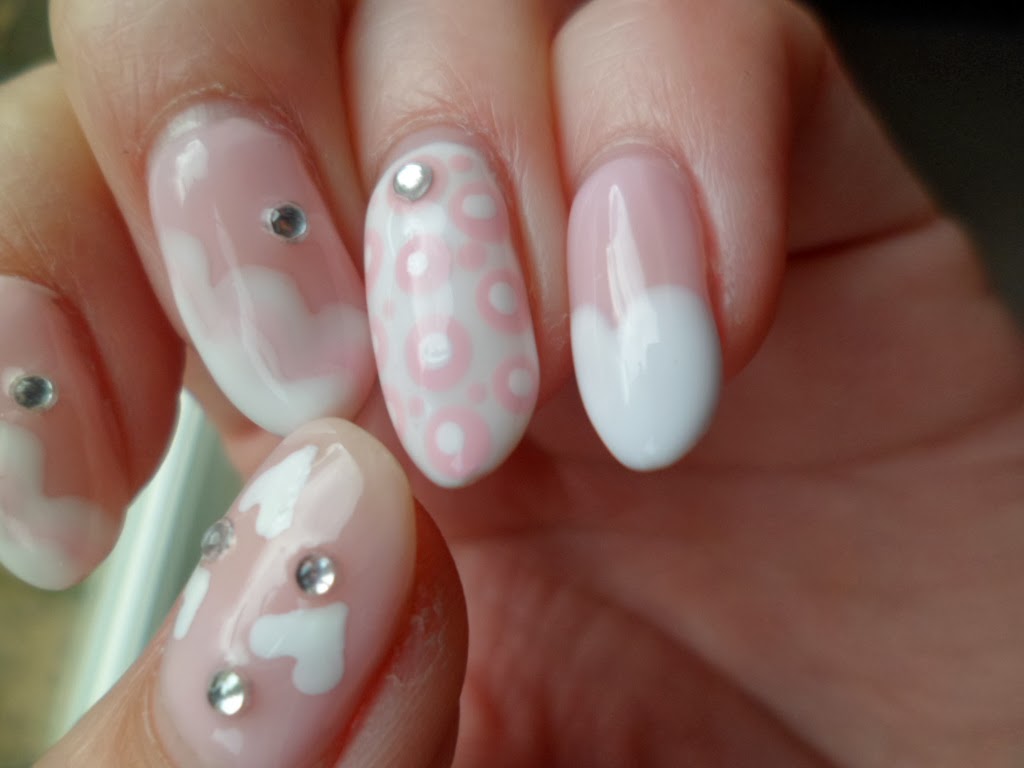
So this mani was a last minute improvisation because we weren't sure what design we wanted on the nails, but it turned out very lovely in the end. Inspired by the 30's era I went for the Half Moon Manicure with a couple of rhinestones here and there.


Step 1
Start with clean dry nails and apply your base coat and cure each hand in a UV lamp for 2 mins (30 seconds if it's an LED lamp), in today's case I'm using all Gel Polishes and so far my favorite base and top coat are Harmony's Gelish Soak Off. In the UK you can purchase on Amazon here for about £20 and in the US here for $22 including shipping.


Step 2
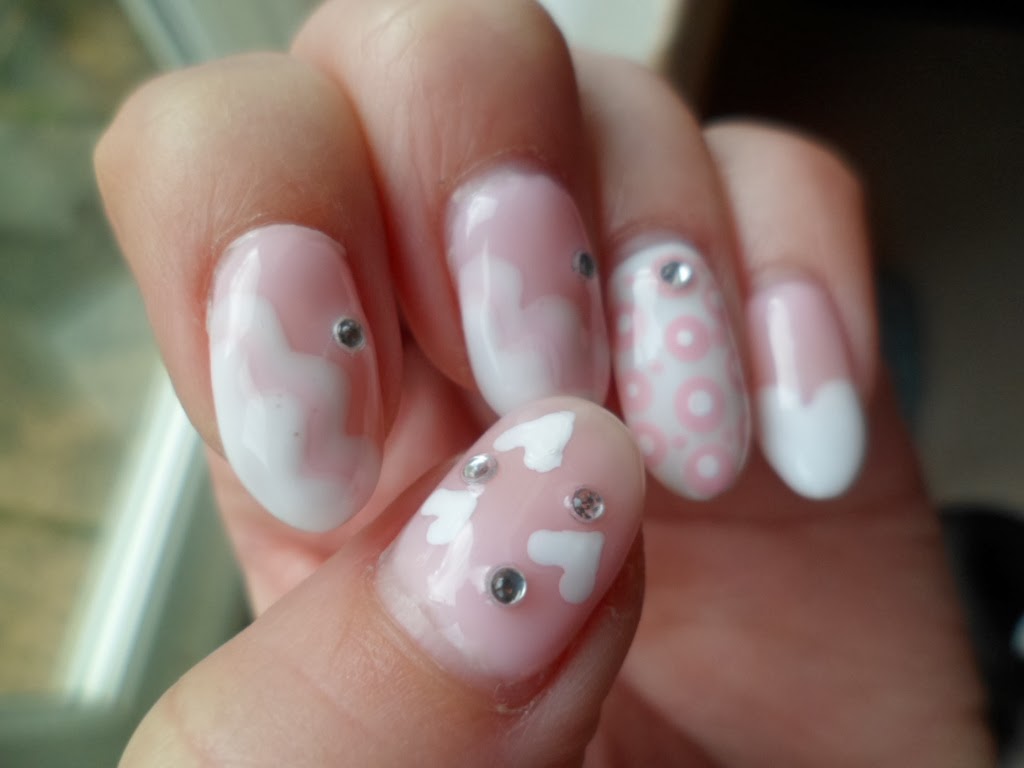
My friend wanted her thumb and ring finger in the nude pink tone with the rhinestones and the rest in the Mocha VIP. Again cure each hand for 2 mins under the UV lamp and proceed to apply a second coat if necessary (depends on the opacity of the polish).
Cure once more.


Step 3
It's time to do the half moon. Normally this is where you get some reinforcement stickers and put them at the top of your nail to create the perfect crescent shape but I like to keep things interesting and forget to bring handy things like that (perfect cover up LOL) so I had to free handed it. I put a generous drop on the opposite colour at the base of the nail bed and moved it around with my dotting tool until I created the shape I wanted and cured once more for a minute or so.


Step 4 
Glitz and Glam it up! This is where you add the rhinestones and top coat these babies :)


Tada! Sorry about the bad pics, I've been using my phone


Not sure if this was helpful at all LOL (baby steps). Let me know any feedback, email me, what would YOU my lovelies like to read about on this beauty blog?

I'm open for suggestions :)